Create and manage Linode servers with Terraform
[linode terraform 
- What is Linode & Terraform
- The tfvars file
- Webserver module
- Nodebalancer module
- Root module
- Commands
- Remote backend
- Summary
What is Linode & Terraform
Linode is a cloud hosting provider that focuses on providing Linux powered virtual machines to support a wide range of applications.Terraform is a tool for building, changing, and versioning infrastructure safely and efficiently. Terraform can manage existing and popular cloud service providers as well as custom in-house solutions.
Terraform is an IaC (infrastructure as g) tool. In this post I’m writing how to create and manage linode instances with terraform. It makes life easier for any developer. I recently did a course by Nana Janashia and this course used AWS as the cloud provider. Here in this post I’ll be doing almost the same thing Nana did except this is in Linode.
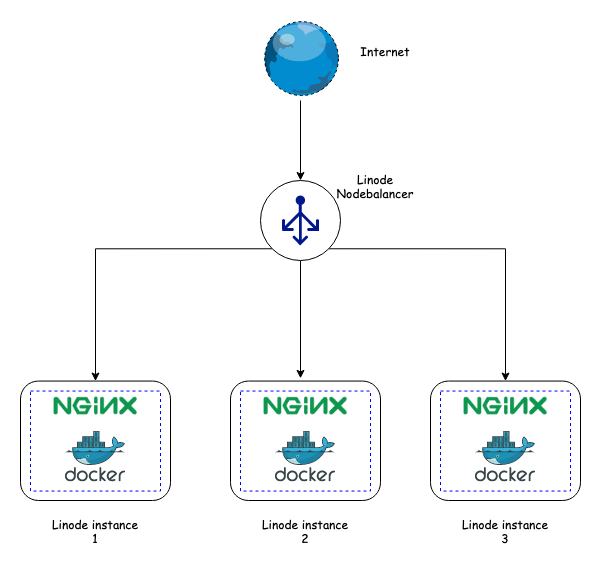
Our desired architecture is going to look like this.

- 3 Linode instances running Ubuntu 18.04.
- Docker to be installed in the 3 instances.
- Nginx to run as a container in all the 3 instances.
- Nginx servers to use port 8080.
- A Linode Nodebalancer (i.e. a load balancer) that distributes the load to the 3 instances.
- The load balancer to run on port 80.
It’s a simple architecture. Let’s start the work now.
The tfvars file
The tfvars file extension is in the root folder of an environment to define values to variables. To set lots of variables, it is more convenient to specify their values in a variable definitions file.
Our tfvars file looks like this.
- api_token: provide your linode api key here. You can get your linode api token here
- public_key_location: this is the location of the public_key file that will be needed for ssh into the linode instances we create. I’m using my mac’s public key and will later use my private key to ssh into the instances.
- root_password: this will be the password to ssh into the instances. We can use either the private key or this root password to ssh into our instances.
- region: our instances and load balancer will be operating from Singapore (
ap-south). - node_count: we will be creating two instances initially.
- instance_type: we will use
g6-nanode-1as the instance type. It’s the smallest machine with 1GB RAM.
Webserver module
main.tf for webserver module
The above code does the following
- create a ssh key.
- create a number of instances based on the node_count variable we created earlier in the tfvars file. In our case 3 linode instances will be created.
- In each of the instances, a remote-exec provisioner invokes a script,
setup_script.shon the instance after it is created. This script is listed below and it installsdockerand runs anginxcontainer on port 8080.
variables.tf for webserver module
outputs.tf for webserver module
The webserver module will output the private IPs of all the instance that has been created. These will be used as an input to the load balancer configuration, so that it can connect to these instances.
Nodebalancer module
main.tf for nodebalancer module
The above code does the following
- create a nodebalancer in the region provided
- configure the node balancer.
port- the node balancer to run on port 80check_path- The URL path to check on each backendcheck_attempts- How many times to attempt a check before considering a backend to be downcheck_timeout- How long, in seconds, to wait for a check attempt before considering it failedcheck_interval- How often, in seconds, to check that backends are up and serving requestsstickiness- Controls how session stickiness is handled on this port: ‘none’, ‘table’, ‘http_cookie’algorithm- What algorithm this NodeBalancer should use for routing traffic to backends: roundrobin, leastconn, source
- connect the node balancer to the instances
config_id- The ID of the NodeBalancerConfig to accessnodebalancer_id- The ID of the NodeBalancer to accessaddress- The private IP Address where this backend can be reached. This must be a private IP addressweight- Nodes with a higher weight will receive more traffic.
variables.tf for nodebalancer module
outputs.tf for nodebalancer module
Nodebalancer module will output it’s hostname and public ip address
Root module
The above code does the following
- connect to linode provider with API token we declared in the
.tfvarsfile - create a webserver module
- create a nodebalancer module
- take the output of the webserver module (i.e. the private ip address of the instances) and serve as input to the nodebalancer module in
line no 28
variables.tf for root module
outputs.tf for root module
The root module will output the outputs from the nodebalancer module i.e. the nodebalancers IP address and hostname.
Commands
-
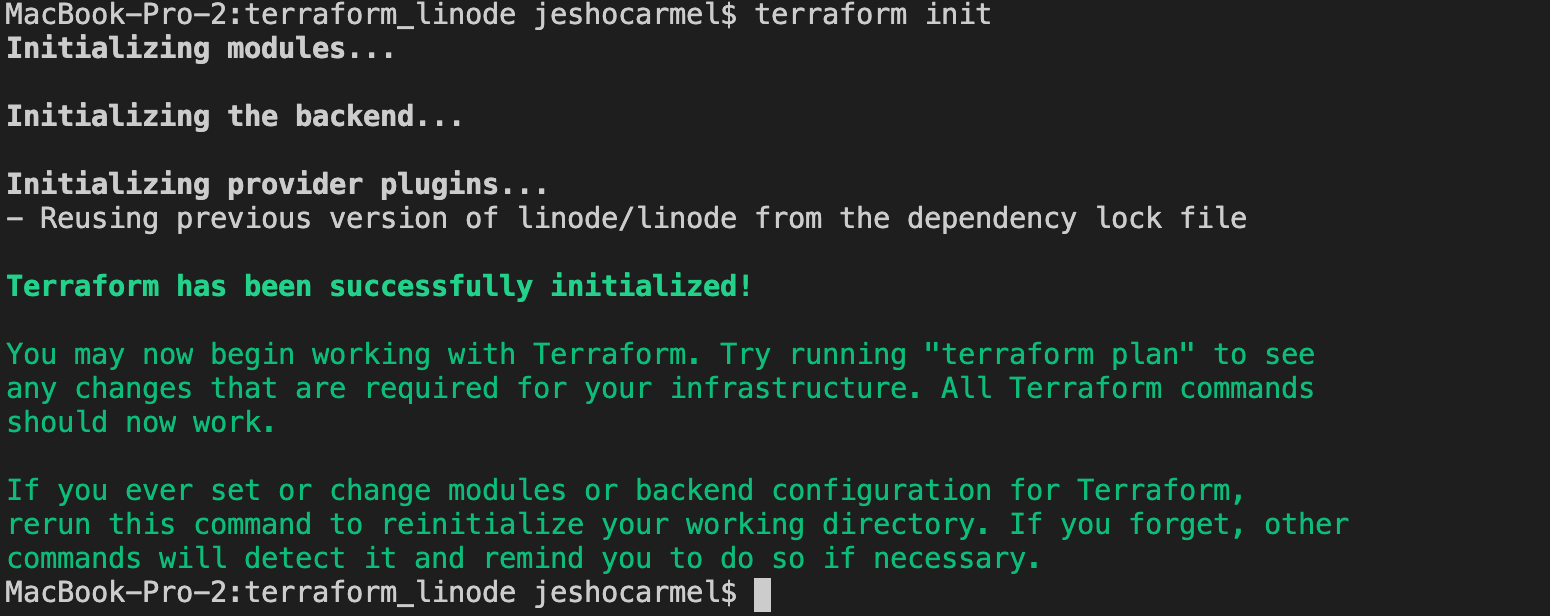
terraform init
The terraform init command is used to initialize a working directory containing Terraform configuration files.

-
terraform plan
The terraform plan command is used to create an execution plan. Terraform performs a refresh, unless explicitly disabled, and then determines what actions are necessary to achieve the desired state specified in the configuration files.

-
terraform apply -auto-approve
The terraform apply command is used to apply the changes required to reach the desired state of the configuration, or the pre-determined set of actions generated by a terraform plan execution plan.

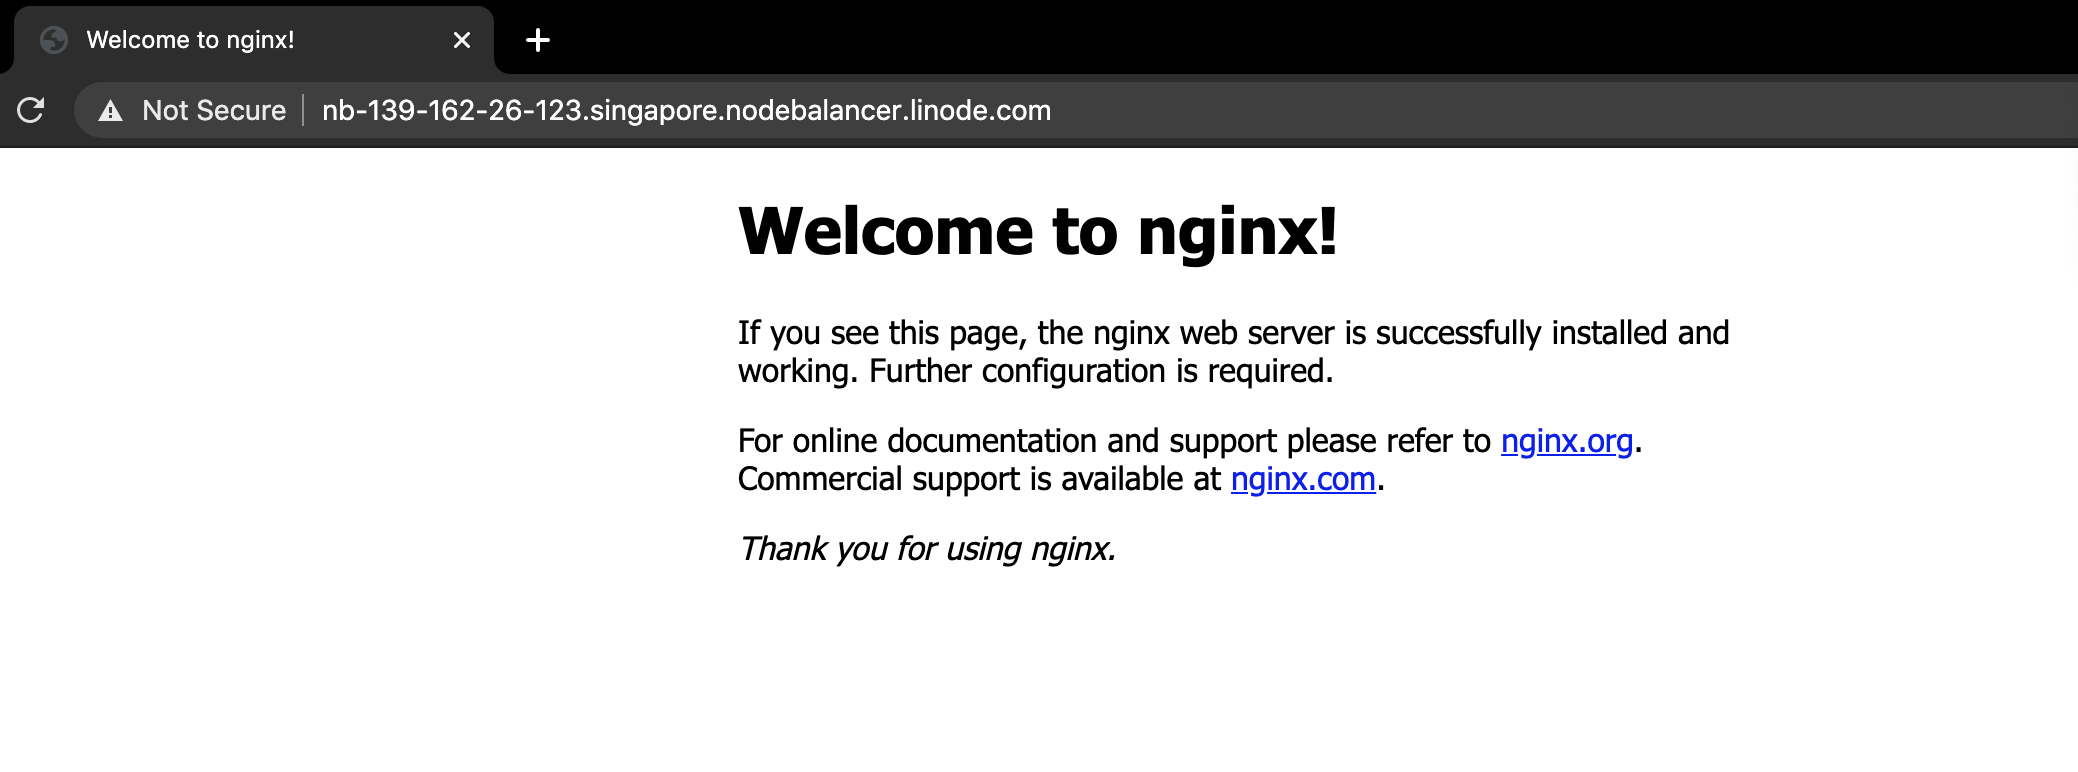
By the end of terraform apply command we could see our linodes instances and nodebalancer are running.

screenshot of browser when I hit the nodebalancer url -
terraform destroy
The terraform destroy command is used to destroy the Terraform-managed infrastructure.

Make sure you destroy all the infra that you had created earlier to avoid a hefty bill.
Remote backend
If you would like a remote backend, where you want to store your tfstate files that keeps track of your activity in linode’s object storage (similar to s3) here’s what your header in root-> main.tf file should look like.
You can find more information on how to use s3 backend for linode here.
Summary
The entire code written here is available in this github repository. Have fun terraform-ing.